|
> 3000 Ave Marias -- Songs of Sharon -- Remi Ghesquiere -- St-Basil's Hymnal -- PROJIMO -- Computer Games |

![]()
![]()
![]()
![]()
![]()
![]()
![]()
![]()
![]()
![]()
![]()
![]()
![]()
![]()
![]()
![]()
![]()
![]()
![]()
![]()
|
|
|
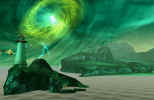
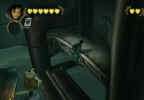
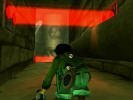
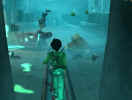
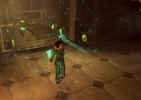
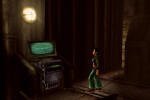
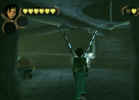
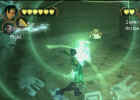
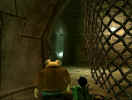
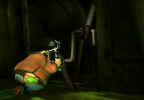
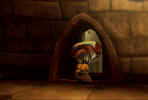
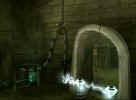
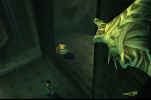
| Head towards the arch to the right of the city. | |
| As soon as you can see the flying robot, target-lock to shoot it down. | |
| Head down the channel and keep to the left. When near the door, look for another flying robot. Target lock and shoot it also. | |
| Continue ahead and turn left, go past the city gates and
into the channel towards the factory gate. Target lock and shoot the third flying robot. | |
| You can do all this, and
still make it to the factory before the door opens again! |
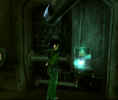
![]()
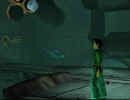
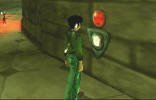
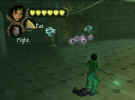
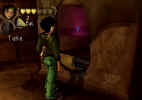
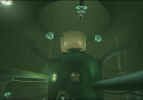
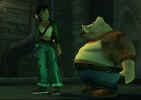
Enter and dock. Go up to the large platform in front of the entrance.
| |||
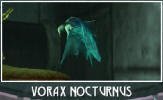
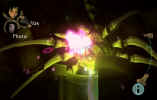
| Take a picture of the blue Vorax Nocturnus (31). | |||
| Take a picture of the red barcode and send it to the governor. | |||
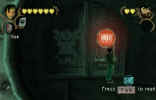
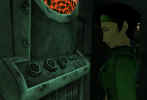
| Jump up. Read and enter the code. |
![]()
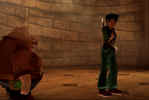
Cutscene: door opens.
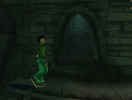
| Go in and continue to the grate. Action button to have Pey’j open the
grate.
|
Cutscene: Pey’j cuts grate. 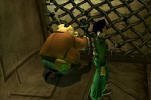
| Walk up to the left corner of the grate. | |
| Action button to kick the grate open.
|
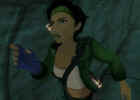
Cutscene: We'll have to be careful, Jade.
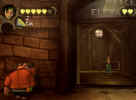
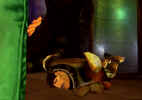
| Enter | |||||
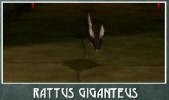
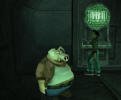
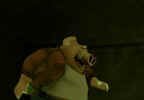
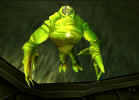
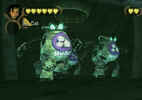
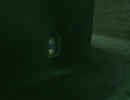
Take a picture of the black rat Rattus Giganteus
(32)
| |||||
The rats will do damage when they bite.
|
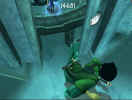
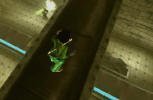
| Jump over , roll under, jump over the 3 red laser beams. | |
| Push the button on the wall to switch them off, so Pey’j can join up with
you.
| |
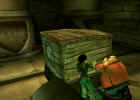
| Push the crate into the gutter. Pey'j will come to help you. | |
| Change direction and push the crate into the electric barrier.
|
Cutscene: fancy security system.
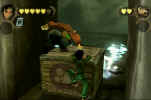
Jump up and over.
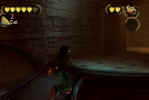
| Posted on YouTube: | |
|
|
![]()
Cutscene: reaper tracks. Look at elevator.

| Pey’j action button to get the elevator repaired.
|
Cutscene: Monkey’s uncle.
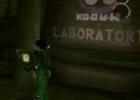
| Go to the far corner past the elevator (door marked LABORATORY) | |
| push the button. |
| Enter and turn right to open the door into the laboratory. | |
| Push the containers to the outside of the electric barrier and enter. | |
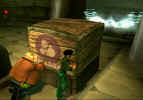
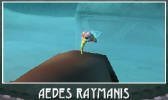
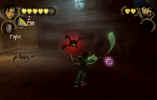
| Take a picture of the "Rayman" mosquito Aedes Raymanis (33) on the nose of the dead cow. | |
| Open the cabinet in the back of the room and immediately kick to kill the
rat inside. Take the pearl. (#19=2). |
Leave and go to the service elevator straight ahead.
|
Cutscene: sunny smile. Enter the elevator.

| Pey’j action button.
|
Cutscene: elevator goes up.
| Walk towards the other side.
|
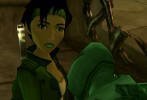
Cutscene: Where’ye going?
Enter the room.
|
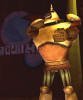
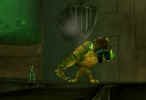
Cutscene: robot drops.
| Get behind the robot and knock it into the electric barrier. | |||
Run away, or keep your distance until it explodes.
| |||
| Enter the room. |
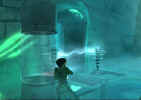
Cutscene: torture machine.

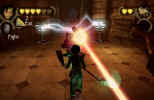
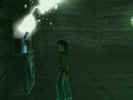
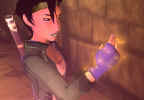
| Take a picture of HH. | |
| Take a picture of the code on the cabinet. | |
Enter the code and take the gyro-glove.
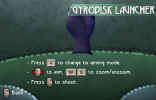
|
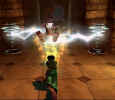
Cutscene: gyro-glove.
Switch to camera mode, and fire 3 disks at the eye of the torture machine.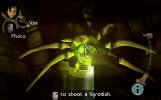
|
Cutscene: at your service.

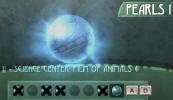
| Take the pearl. (#21=3) | |||||||||
Stand next to the grate. HH action button. 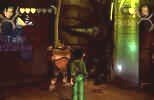
 | |||||||||
Cutscene: Carlson and Peters AAAAH...

|
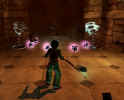
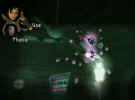
Cutscene: Jade, need help!
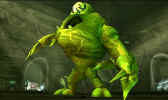
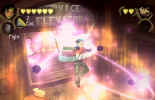
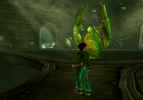
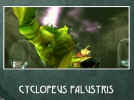
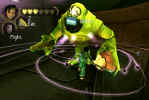
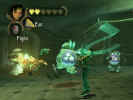
| Take a picture of the reaper Cyclopeus Palustris (34) as soon as you get control. | |||||||
Run forward and hit him with all you have. He'll
jump away to a high ledge.
|
| Posted on YouTube: | |
|
|
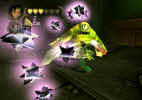
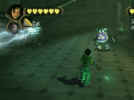
Just before he lands, switch to camera mode, and
start shooting disks.
|
| After you've hit him enough times, he'll stumble and jump towards the middle of the ramp and fall down in the water. | |
| Once you get the correct pattern of switching
views, you can finish him off in under a minute.
|
Cutscene: Making me hungry.

| Head towards the door next to the save terminal and enter. | |
| Choose whatever side you need to get past the swinging wires without having to stop. | |
| In the next room, shoot 3 disks at the fan to turn it around. | |
| Push the button to open the door and go to the back of the generator. | |
| Try to take the key. |
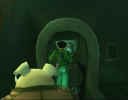
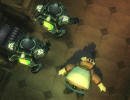
Cutscene: 1 roly-poly bot.
(= "Transport Unit XB24")
| Run towards the electric barrier. | |
| Pey'j action Button and knock the robot into it. | |
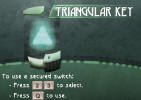
| Take the triangular key (PA1 in the room). | |
| Try using the key on the generator. |
The triangular key gives
you access to
|
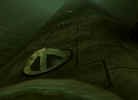
![]()
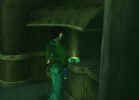
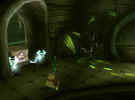
Cutscene: Intruders.
| Destroy the 5 roly-poly bots. | |
Use the key on the generator.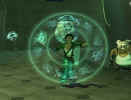
|
Cutscene: generator shuts down.
| Take the fuse. | |
| Use the key again and RUN around to the back of the generator to take the 2nd fuse. |
| Go back to the elevator room. | |
| Place a fuse in the receptacle to restore power. | |
Shoot a disk at the broken cable. 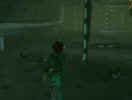

|
Cutscene: real patch job.
| Push the elevator button.
|
Cutscene: elevator comes.
| Enter elevator, push button.
|
Cutscene: Mdisk#4.
| Go to the door. | |
| Pey’j action button. | |
Push the button when Pey’j does. |
| Posted on YouTube: | |
|
|
![]()
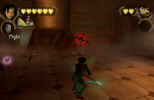
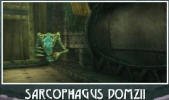
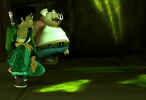
Cutscene: Sarcophagi attack.
| Super-attack x2 to destroy the ones near you. | |
| You should have time to take a picture of the last Sarcophagus Domzii (35) before Pey’j kills it. | |
| If you didn’t, there still will be another opportunity later. |
Cutscene: I'da been smoked ham without you.
BEFORE you leave this room,
| |||
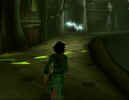
| Jump up the ledge and open the grate. Enter. | |||
Cross the pipe and walk over the X-ray verification room.
| |||
| Go across, into the other room to trigger Pey'j capture. | |||
As soon as you’re above the white rat, you can turn back.
|
Cutscene: Pey’j captured.

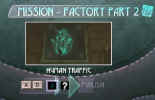
Continue with the Nutripils Factory Mission, part 2.
Page last modified: September 18, 2011
![]()
![]()
 G-2b, playing the fast game.
Return to BGAE homepage
Return to my homepage: www.avemariasongs.org
![]()
|
||||||||||||||
|
||||||||||||||